Post by majorghost on Feb 26, 2011 19:24:25 GMT -5
Figured this would be a great place to re-post this thread...
Hello folks! I have often been asked about the many ghillie suits I own. Just how hard is it to make one. And what does it cost. I have been making ghillie suits for many years now and hope I can answer any questions along the way.
Well, for starters its simple. No sewing involved if you don't want to. Costs anywhere from $40 for a "tracker" kit to around $60 for a poncho kit. You can buy already tied netting and simply cut to your shape. I complete pre-made suit is around $130, and that has the net secured to a jacket and pants.
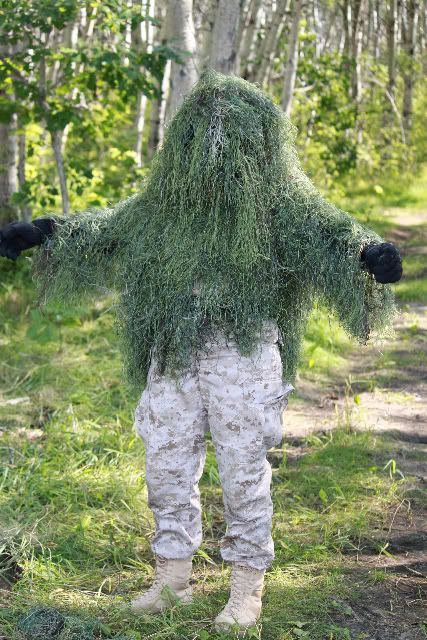
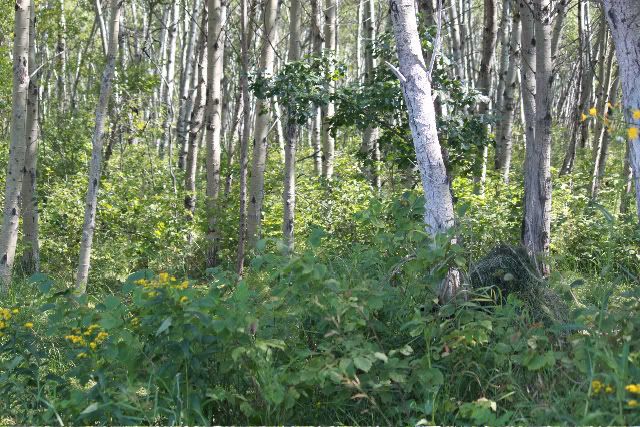
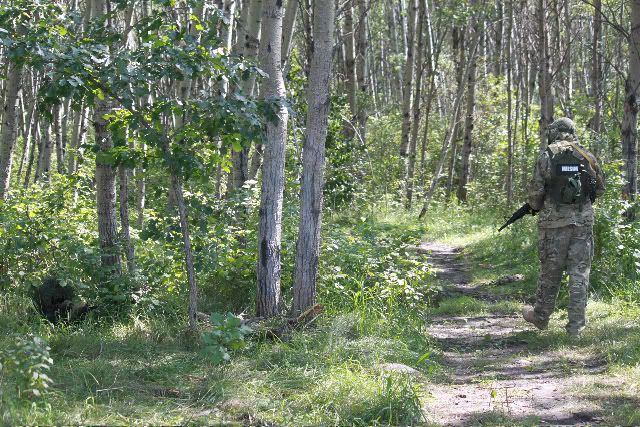
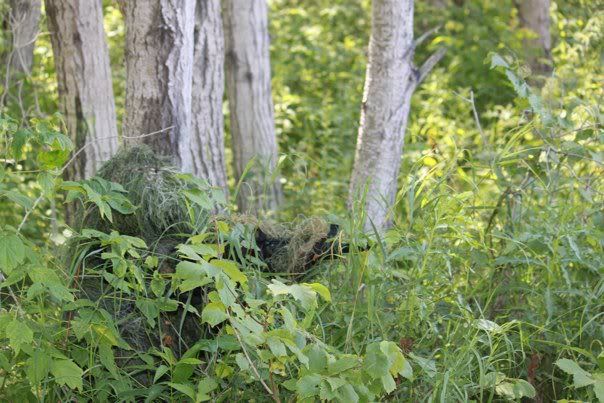
My suits in action. Closest is the woodland and farthest is the timber pattern. The woodland suit is a jacket, pants, head cover and rifle wrap all for $70 shipped to my door. The timber suit is $135 plus shipping, but its a much nicer suit.

Before I go into details, one thing needs to be understood... just because you have a ghillie, doesn't mean you will NOT be seen. Many players choose the wrong color or are afraid to make their own custom ghillie suit to match their field conditions. Its not hard to make one. But if you insist on buying one get one that has netting, not the suits that have the string attached directly to the material! You cannot change the suit or remove the string.
Also, please only buy the synthetic string. Jute and burlap are highly flammable. If you are going to get a suit made from jute or burlap, spray with fire-retardant before wearing.
Types of Ghillies:
Partial- Maybe just a head piece or head and shoulders. Sometimes this is referred to as a tracker ghillie. It allows the user to be fully mobile. No ghillie material below the belt, so to speak.
Full- Can be a poncho that slips over your BDU's or is an actual suit that zips up, with ghillie netting attached.
Others- Some variations include what is known as a viper or cobra hood. Its a partial jacket/ hood that has straps sew on just like a MOLLE vest. Real vegetation is attached to the straps, so that no matter where you go you can match the terrain.
I am creating a tracker pull over. I have several full suits and need something more mobile.
In the kit they give you a square piece of netting. Follow the instructions and cut off the material you will use for the hood (the long ways on the netting). The hood is around 12 by 30 squares. But you cut the entire length off the end of the netting. So you end up with a piece that is 12 by 60 ish ... your size will vary.
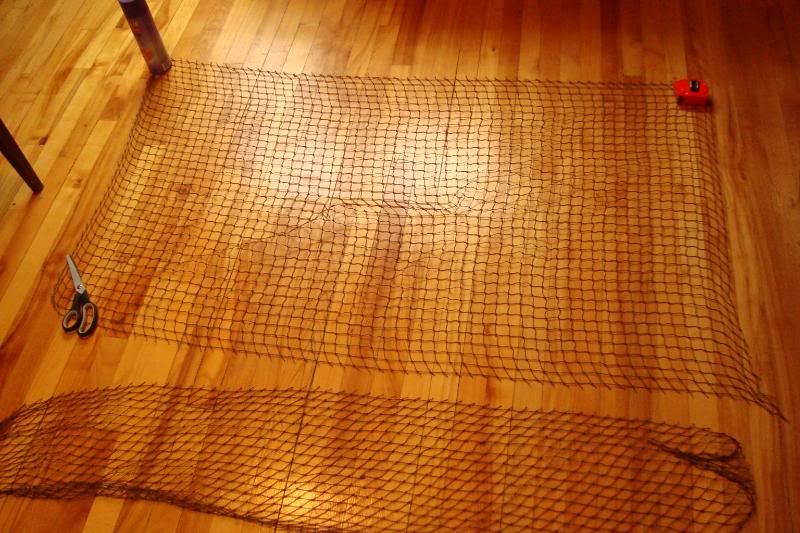
Make yourself an opening right in the middle. Usually a few rows wide and several long. And don't forget to try the thing on before you tie the string. See if its the right size of opening, etc.

I use 4 strings at a time. If you have family get someone to help make rows of 4 strings. It speeds up the tying process.
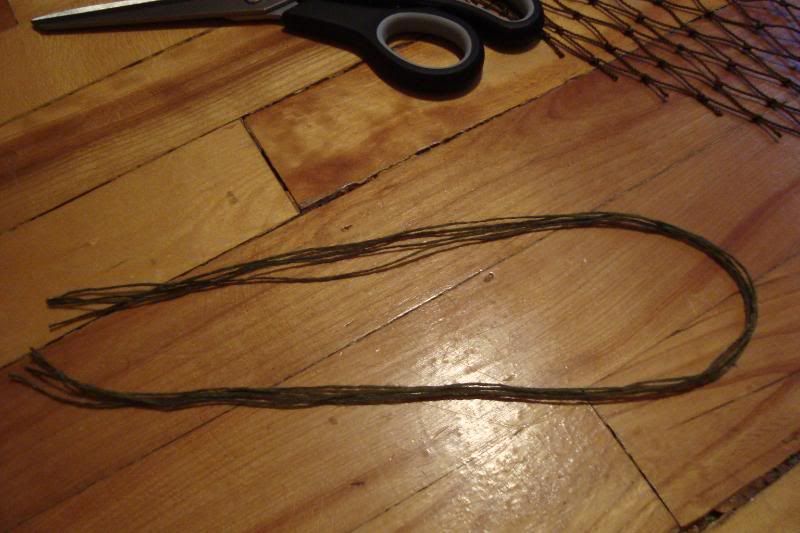
Always start at the bottom and work up. Tie a few rows then skip one. Repeat.
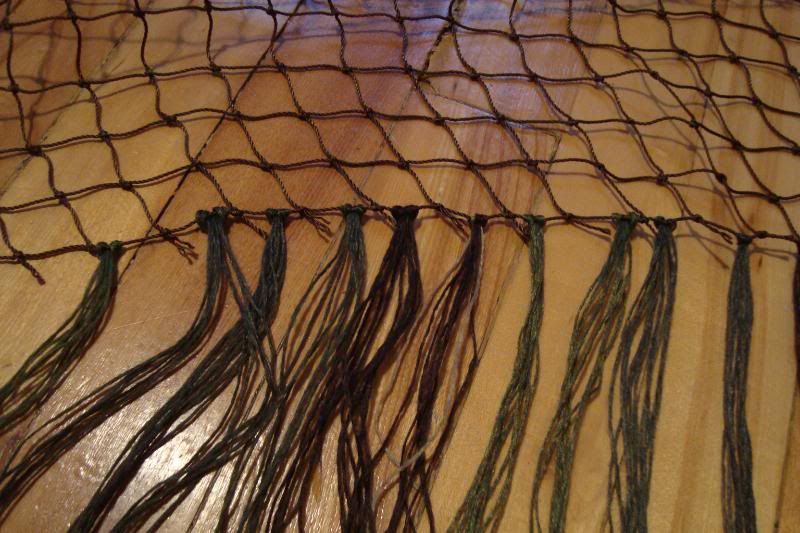
To tie, feed the looped end through the net.
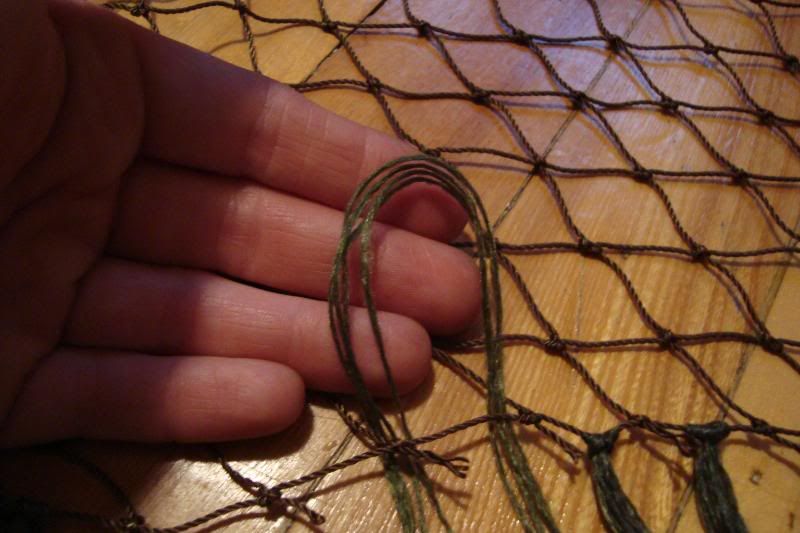
Next put loose ends through the loop and pull tight.
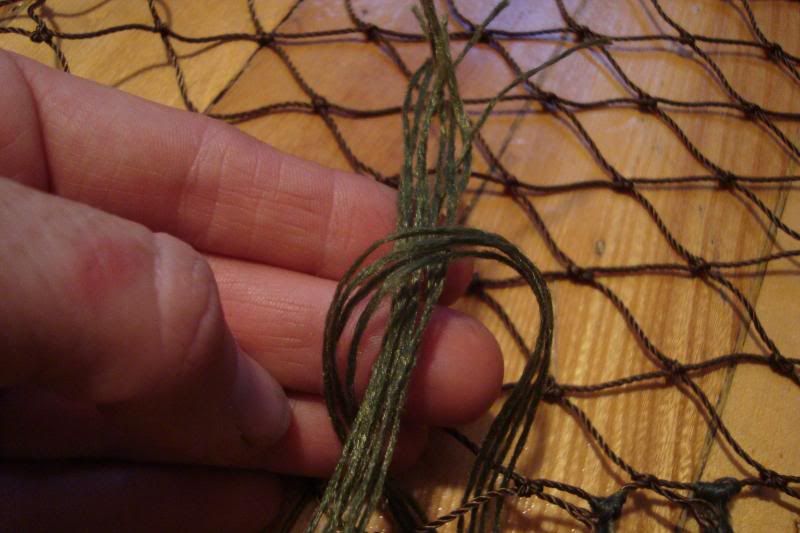
Loose knot to show how I tied it.
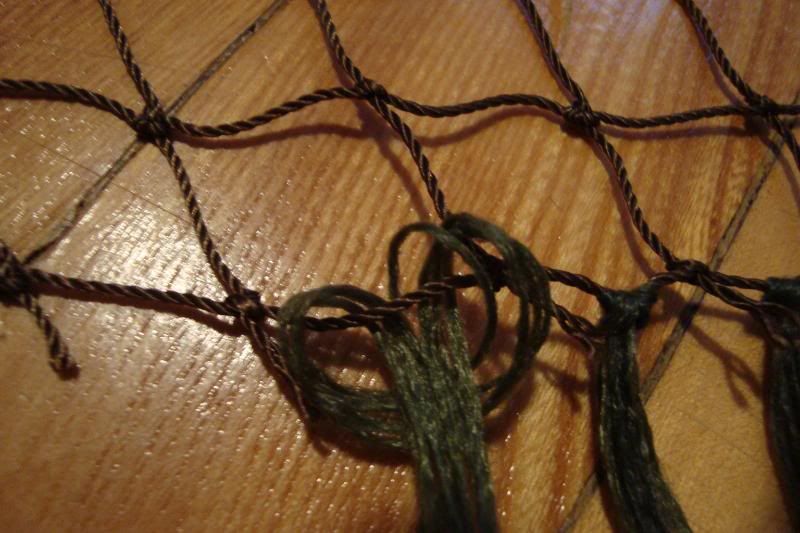
You can see how the netting is starting to look. Create patterns with different colors. Be creative!
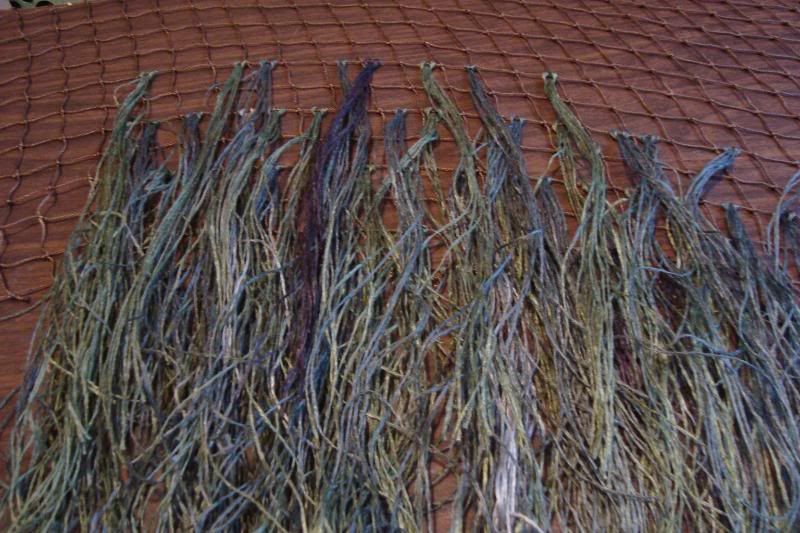
Making the hood. Take the netting that was cut off (about 12 by 30 squares) and fold in half. I used a cork board to make it easier to see.
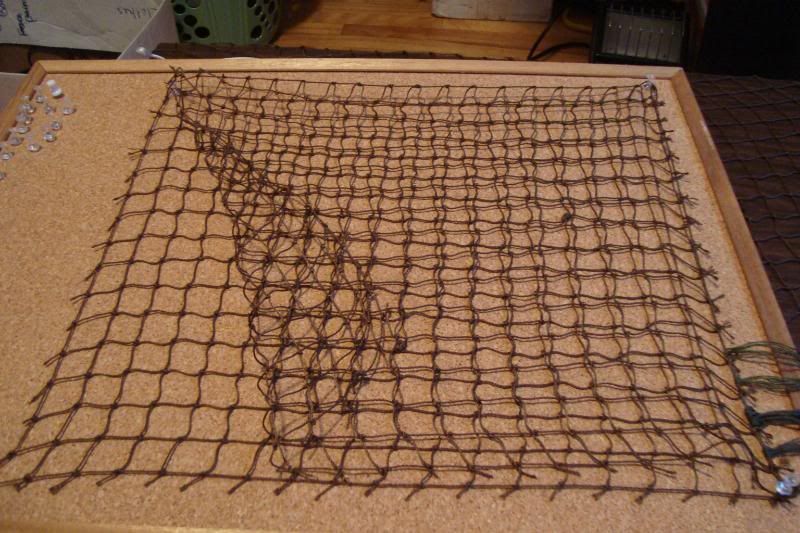
Tie one open end of the hood and leave the other. It will form a typical hoodie style hood (the kind manufactures use). Try it on to make sure its large enough.
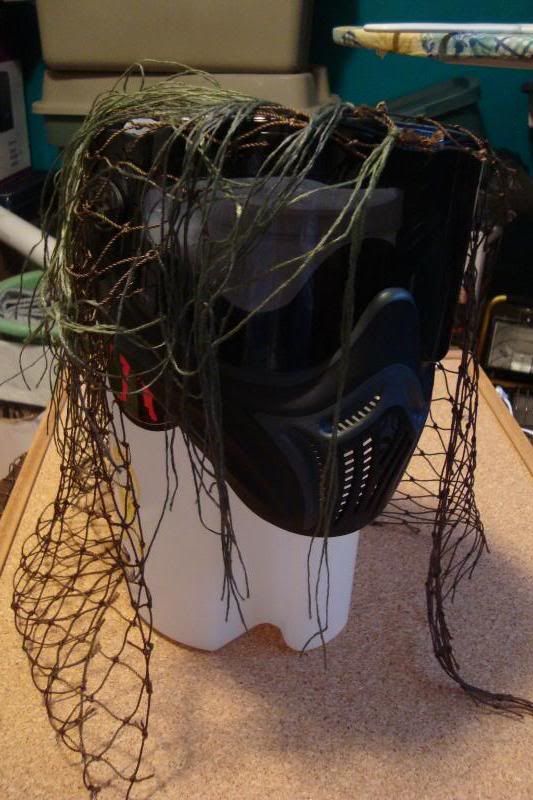
Once the hood is tied to create a hood, attach to the opening as shown.
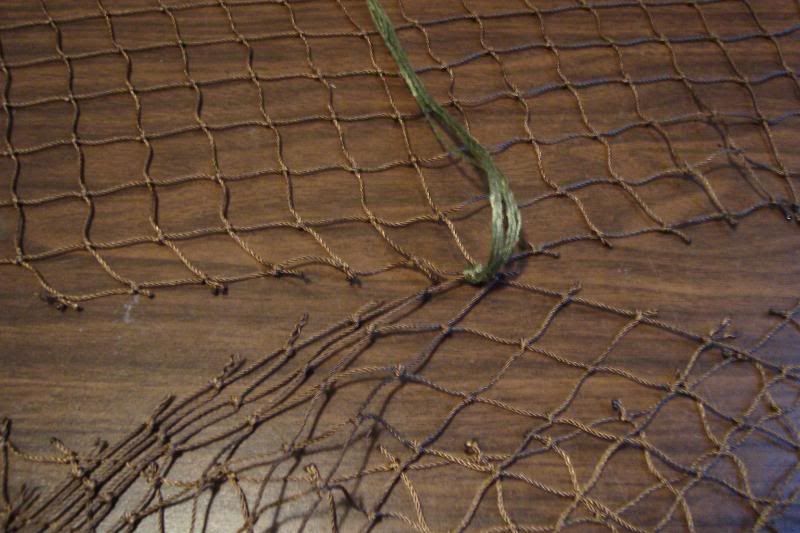
Will look like this: Tie all the way around, or trim as needed. Again, try the thing on.
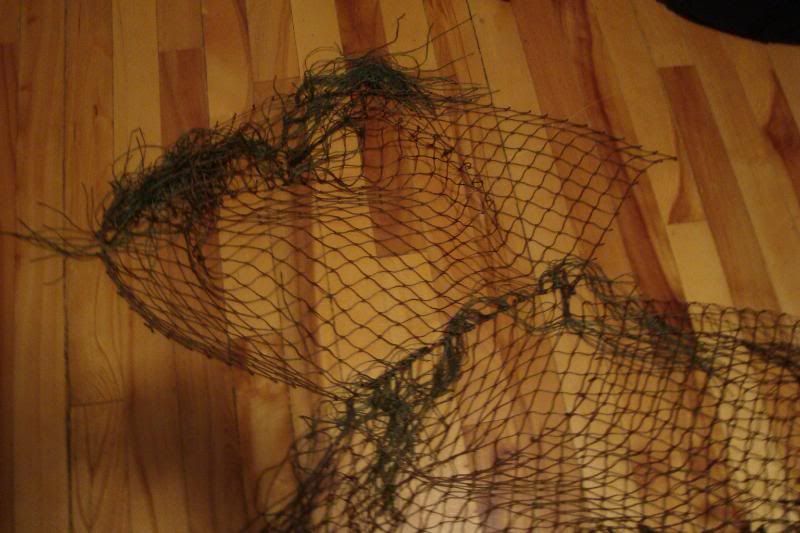
Once you have all the attachments on and the suit kinda how you would like it. Anytime during the process, burn the loose ends where you cut the netting... or else the net will fall apart. The netting is tied in such a way that if you don't do this, it will start to tear and pull apart. The instructions DO NOT tell you this. Of course there is no way to stop tearing when you hook a tree. So you will have to repair the suit from time to time.

Next I create sleeves and cut off excess netting. Try it on to make sure they are large enough to fit over your shirt.
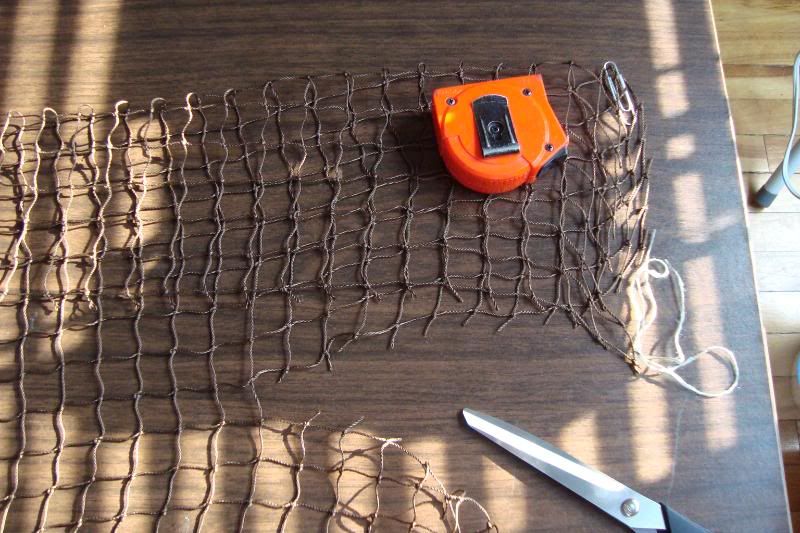
The cuff of the sleeve held together for test fit.
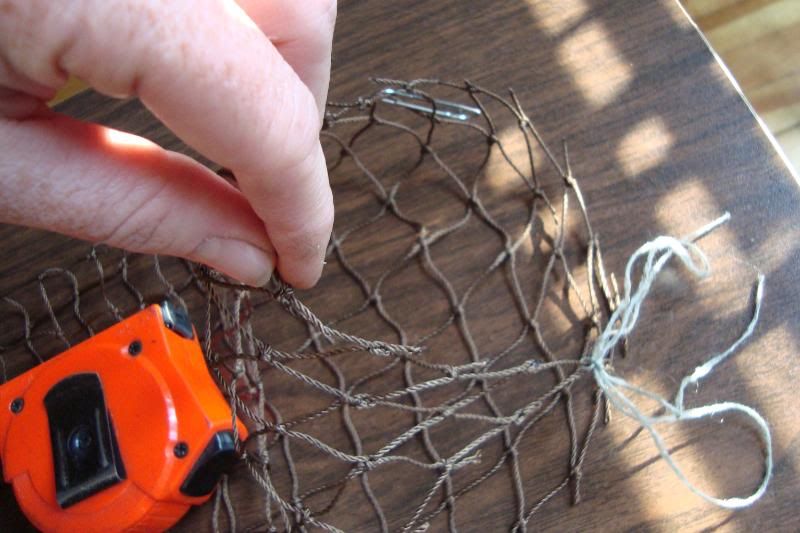
Tie the bottom of the sleeve together with pieces of half string. Unless you want more bulk, I recommend using only half the string.
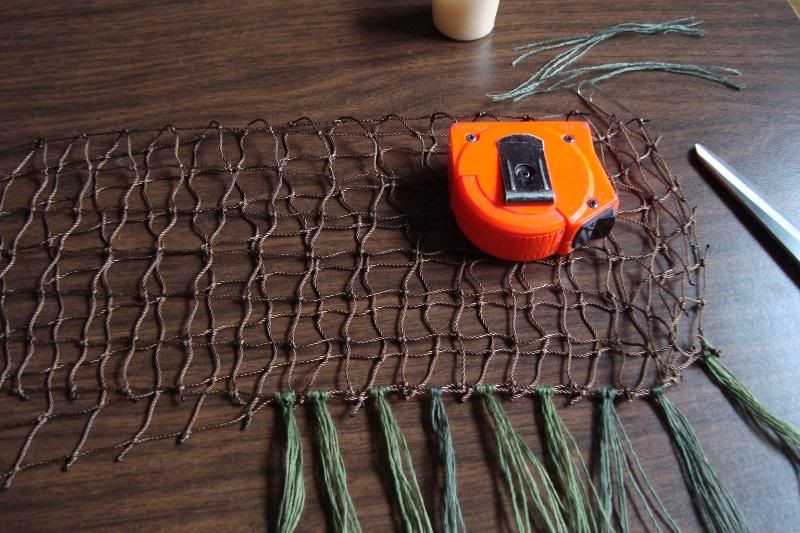
What the sleeve looks like when tied together. Ready to begin tying the rest of the sleeve.

I like using the cork board to keep the sections of netting tight to help with tying. Simply move the net on the board as you go.

Now to add bulk where needed, take a lot more strings (about 6 -8) and tie a square knot. This will make the string stand up. Good for shoulders, tops of arms and hood.
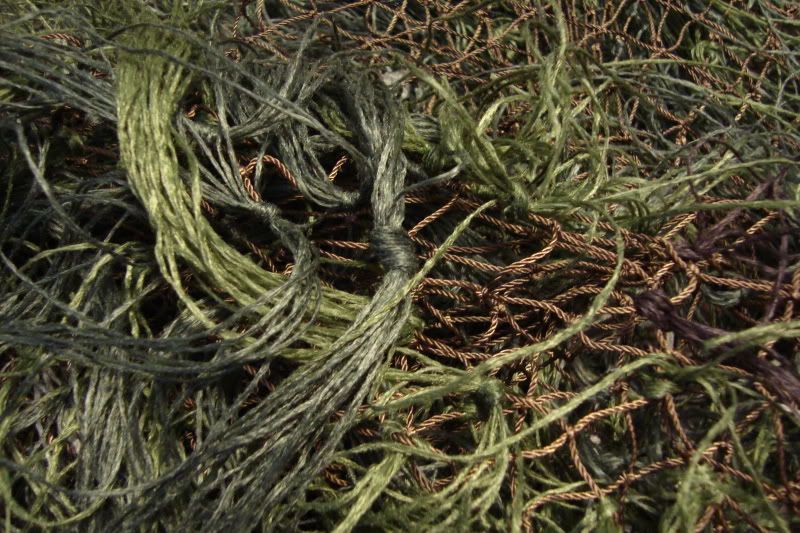
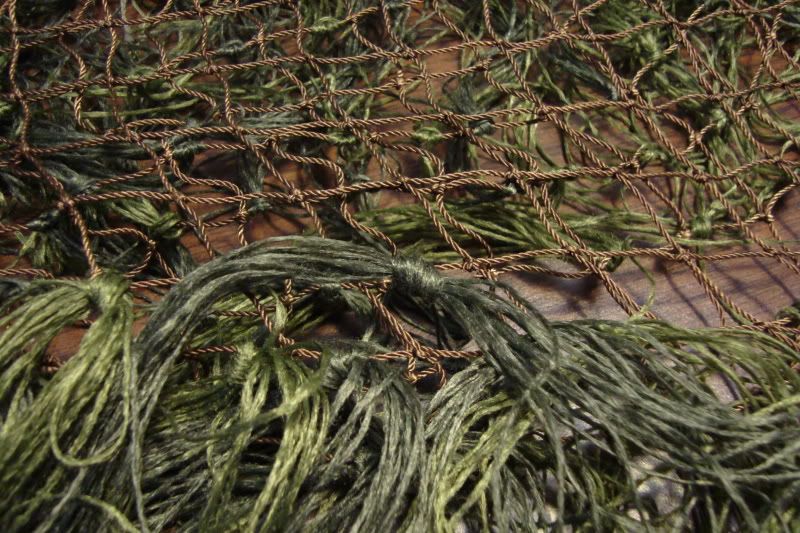
On the back I am starting to apply a double tying system. The "loop through" method I first showed is used on a row then I skip a row. On the rows I have skipped I use the simple square knot to make the suit stand out. Especially on the back so that while I am prone on the field, the back of the ghillie "stands up" to simulate grass and plants. The "loop through" method is used on suits for very grassy areas, because the string lays flatter. This ghillie is for a mixed forest environment, so I want a little of both. Standard store bought suits have the square knot because its very easy to tie and adds bulk quicker. The type of knot you use depends on what you want to look like. Since you can't look exactly like a tree or bush, you can try and come close. Experiment with different knots.
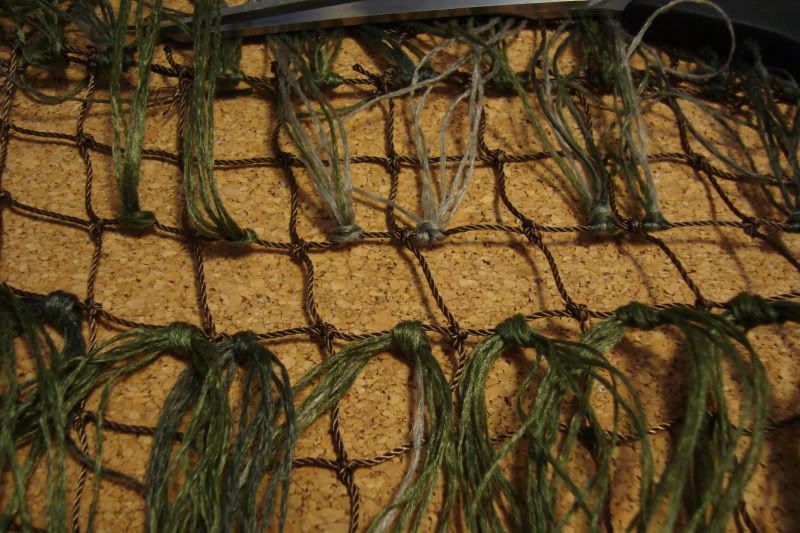
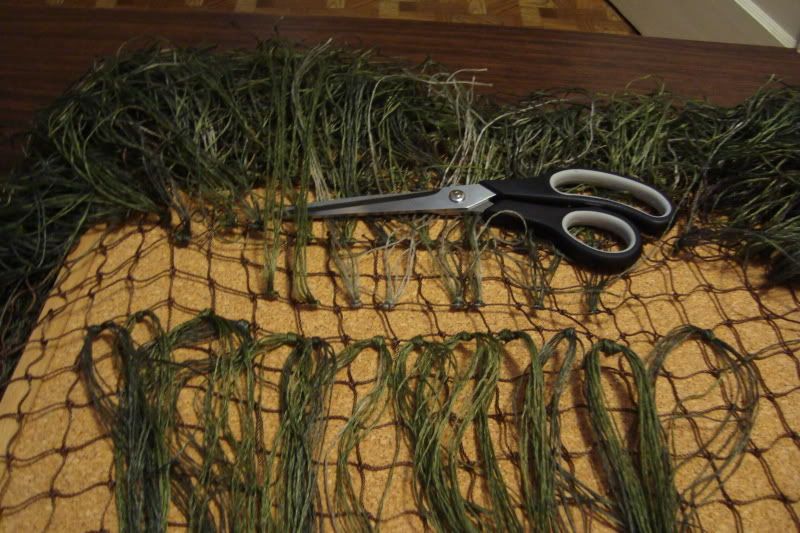
This is the back of the pull over, just below the hood (the hood is where the scissors are).
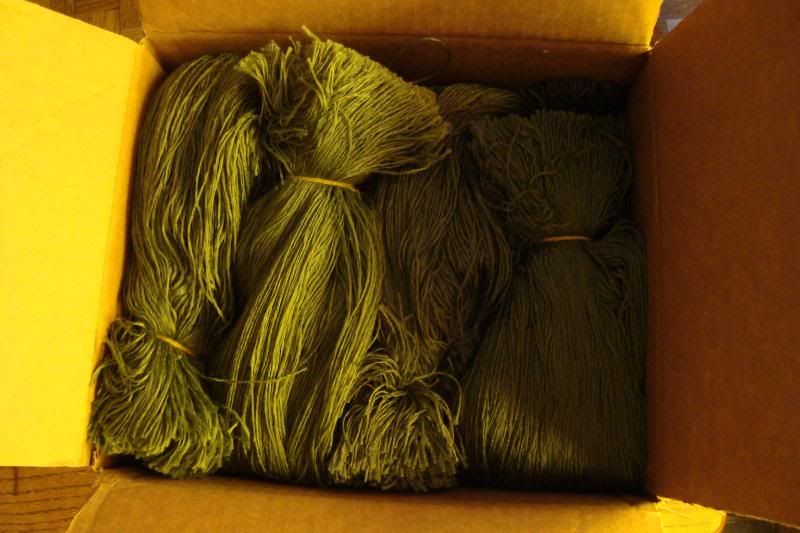
Ordered more string so I can bulk up the ghillie and for future repairs/ mods
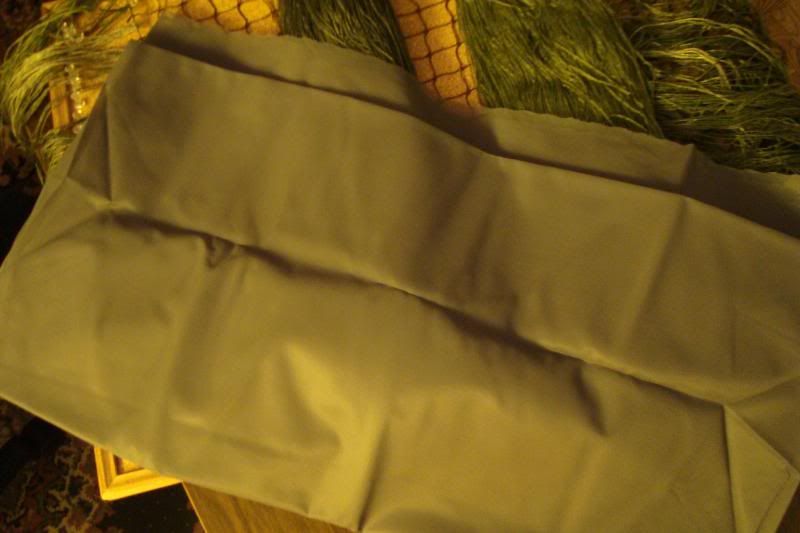
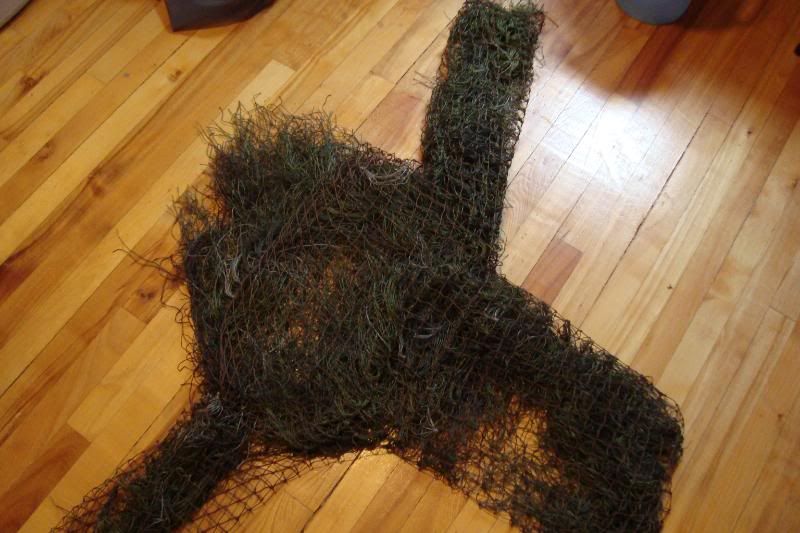
Decided to add a bug screen liner. I found this material for really cheap. Its the stuff they use on bug suits. Don't buy the screen for your windows, its too stiff. They do make this material so check it out at the local fabric stores.
Turn suit inside out.
Measuring the arms.
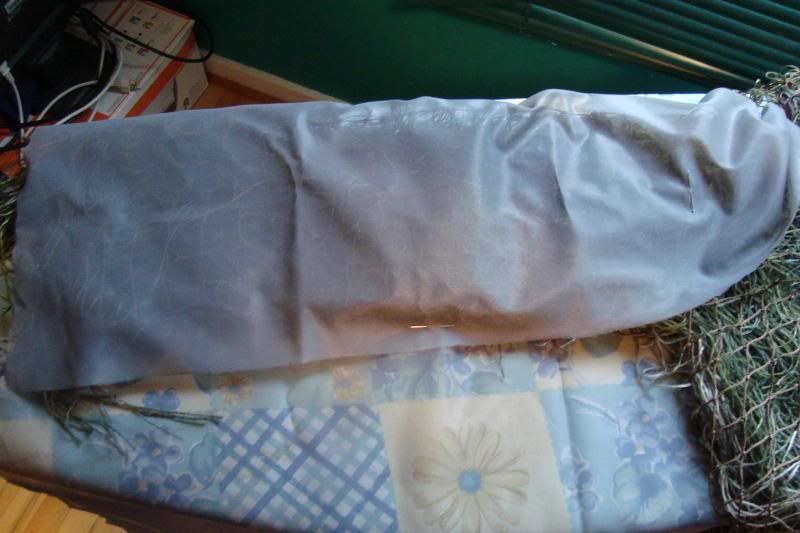
Basically the arms are material folded over and sewn at one side. Forms a tube. Make two matching tubes.
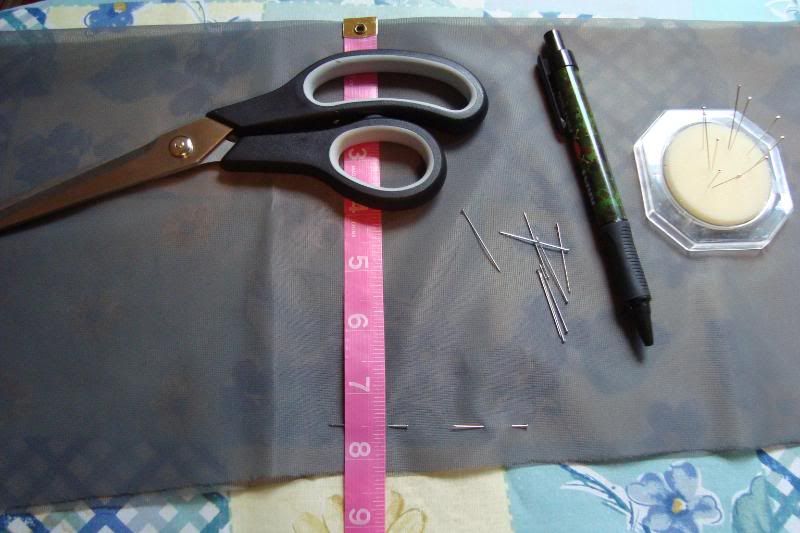
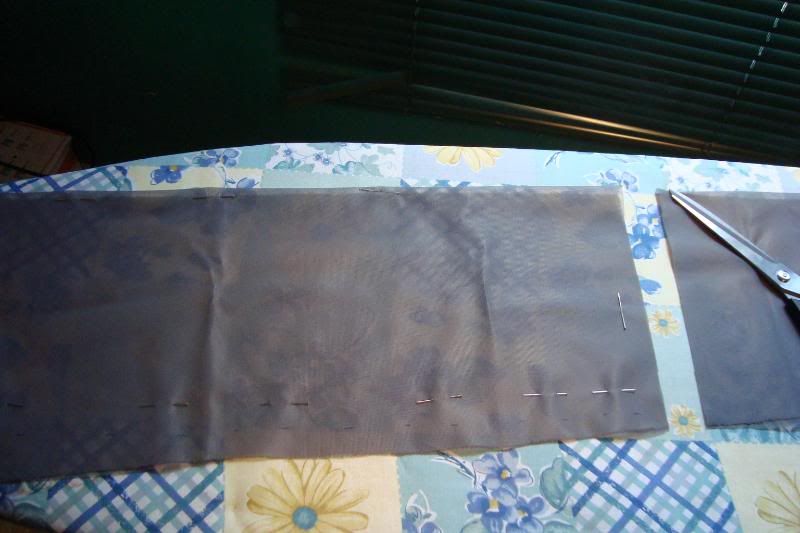
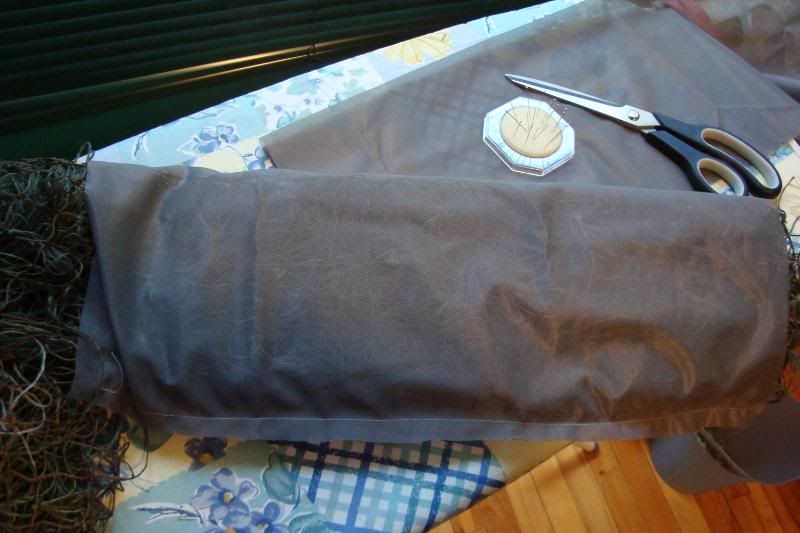
The body is the same way. You are creating a poncho, but without the arms. You will sew the arms on after. If you want you could just cut out a long sleeve shirt pattern and sew together. This method is better for stretching and easy to wear/ move in.
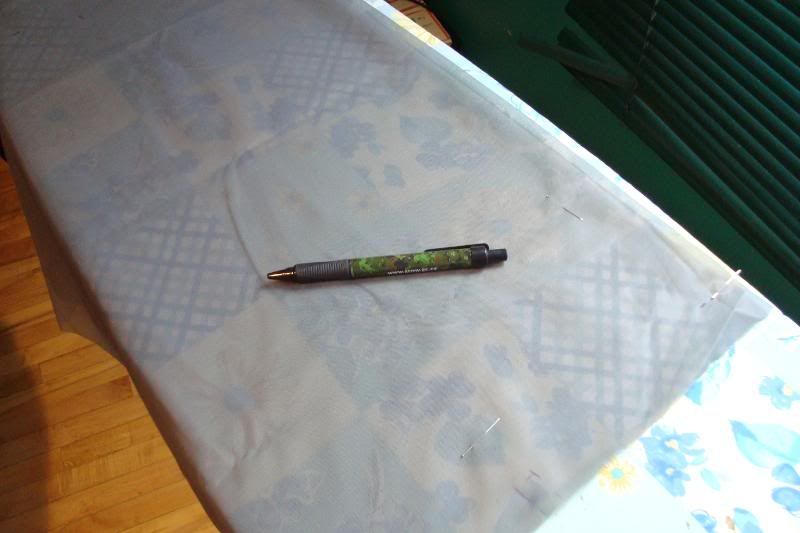
Attaching the arm to the body.
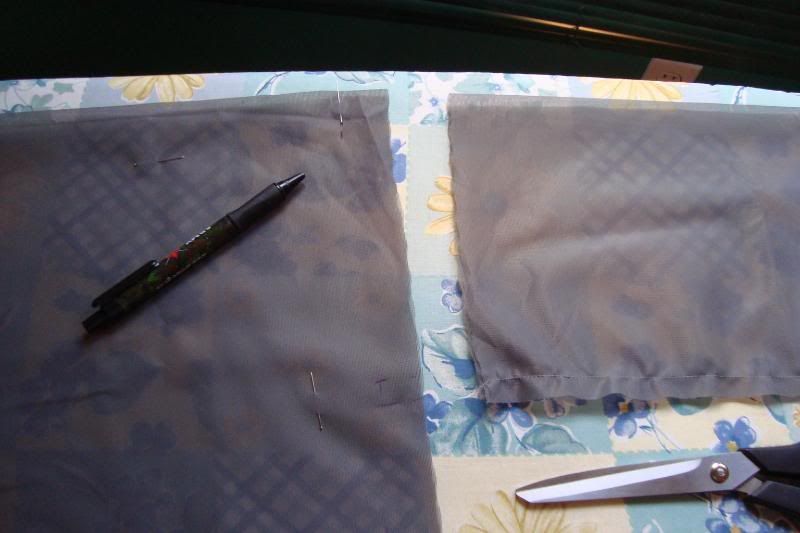
I will be posting pics as I go, and then one final pic of the tracker suit all complete!
Feel free to ask questions about the project.
Hello folks! I have often been asked about the many ghillie suits I own. Just how hard is it to make one. And what does it cost. I have been making ghillie suits for many years now and hope I can answer any questions along the way.
Well, for starters its simple. No sewing involved if you don't want to. Costs anywhere from $40 for a "tracker" kit to around $60 for a poncho kit. You can buy already tied netting and simply cut to your shape. I complete pre-made suit is around $130, and that has the net secured to a jacket and pants.
My suits in action. Closest is the woodland and farthest is the timber pattern. The woodland suit is a jacket, pants, head cover and rifle wrap all for $70 shipped to my door. The timber suit is $135 plus shipping, but its a much nicer suit.

Before I go into details, one thing needs to be understood... just because you have a ghillie, doesn't mean you will NOT be seen. Many players choose the wrong color or are afraid to make their own custom ghillie suit to match their field conditions. Its not hard to make one. But if you insist on buying one get one that has netting, not the suits that have the string attached directly to the material! You cannot change the suit or remove the string.
Also, please only buy the synthetic string. Jute and burlap are highly flammable. If you are going to get a suit made from jute or burlap, spray with fire-retardant before wearing.
Types of Ghillies:
Partial- Maybe just a head piece or head and shoulders. Sometimes this is referred to as a tracker ghillie. It allows the user to be fully mobile. No ghillie material below the belt, so to speak.
Full- Can be a poncho that slips over your BDU's or is an actual suit that zips up, with ghillie netting attached.
Others- Some variations include what is known as a viper or cobra hood. Its a partial jacket/ hood that has straps sew on just like a MOLLE vest. Real vegetation is attached to the straps, so that no matter where you go you can match the terrain.
I am creating a tracker pull over. I have several full suits and need something more mobile.
In the kit they give you a square piece of netting. Follow the instructions and cut off the material you will use for the hood (the long ways on the netting). The hood is around 12 by 30 squares. But you cut the entire length off the end of the netting. So you end up with a piece that is 12 by 60 ish ... your size will vary.

Make yourself an opening right in the middle. Usually a few rows wide and several long. And don't forget to try the thing on before you tie the string. See if its the right size of opening, etc.

I use 4 strings at a time. If you have family get someone to help make rows of 4 strings. It speeds up the tying process.

Always start at the bottom and work up. Tie a few rows then skip one. Repeat.

To tie, feed the looped end through the net.

Next put loose ends through the loop and pull tight.

Loose knot to show how I tied it.

You can see how the netting is starting to look. Create patterns with different colors. Be creative!

Making the hood. Take the netting that was cut off (about 12 by 30 squares) and fold in half. I used a cork board to make it easier to see.

Tie one open end of the hood and leave the other. It will form a typical hoodie style hood (the kind manufactures use). Try it on to make sure its large enough.

Once the hood is tied to create a hood, attach to the opening as shown.

Will look like this: Tie all the way around, or trim as needed. Again, try the thing on.

Once you have all the attachments on and the suit kinda how you would like it. Anytime during the process, burn the loose ends where you cut the netting... or else the net will fall apart. The netting is tied in such a way that if you don't do this, it will start to tear and pull apart. The instructions DO NOT tell you this. Of course there is no way to stop tearing when you hook a tree. So you will have to repair the suit from time to time.

Next I create sleeves and cut off excess netting. Try it on to make sure they are large enough to fit over your shirt.

The cuff of the sleeve held together for test fit.

Tie the bottom of the sleeve together with pieces of half string. Unless you want more bulk, I recommend using only half the string.

What the sleeve looks like when tied together. Ready to begin tying the rest of the sleeve.

I like using the cork board to keep the sections of netting tight to help with tying. Simply move the net on the board as you go.

Now to add bulk where needed, take a lot more strings (about 6 -8) and tie a square knot. This will make the string stand up. Good for shoulders, tops of arms and hood.


On the back I am starting to apply a double tying system. The "loop through" method I first showed is used on a row then I skip a row. On the rows I have skipped I use the simple square knot to make the suit stand out. Especially on the back so that while I am prone on the field, the back of the ghillie "stands up" to simulate grass and plants. The "loop through" method is used on suits for very grassy areas, because the string lays flatter. This ghillie is for a mixed forest environment, so I want a little of both. Standard store bought suits have the square knot because its very easy to tie and adds bulk quicker. The type of knot you use depends on what you want to look like. Since you can't look exactly like a tree or bush, you can try and come close. Experiment with different knots.
This is the back of the pull over, just below the hood (the hood is where the scissors are).


Ordered more string so I can bulk up the ghillie and for future repairs/ mods

Decided to add a bug screen liner. I found this material for really cheap. Its the stuff they use on bug suits. Don't buy the screen for your windows, its too stiff. They do make this material so check it out at the local fabric stores.

Turn suit inside out.

Measuring the arms.

Basically the arms are material folded over and sewn at one side. Forms a tube. Make two matching tubes.


The body is the same way. You are creating a poncho, but without the arms. You will sew the arms on after. If you want you could just cut out a long sleeve shirt pattern and sew together. This method is better for stretching and easy to wear/ move in.

Attaching the arm to the body.

I will be posting pics as I go, and then one final pic of the tracker suit all complete!
Feel free to ask questions about the project.


